

Introduction
Whether you’re a seasoned PC enthusiast, a dedicated gamer, or a professional aiming for top-tier productivity, benchmarking your CPU is a crucial step in optimizing its performance. However, for beginners, the process might seem overwhelming.
Benchmarking involves testing your processor’s capabilities under different workloads to measure its performance and compare it to other CPUs on the market. But don’t worry—this guide will walk you through everything you need to know, from installing the necessary tools to analyzing and improving your results.
Tools and Requirements
Before starting, ensure you have the following:


- At least 5GB of free storage space for benchmark tools
- A stable internet connection
- A reliable antivirus program
- Basic computer skills (beginner-friendly guide)
Preparing Your System
1. Close Background Applications
To get accurate benchmark results, close any unnecessary background applications consuming CPU resources:
- Right-click on open programs in the taskbar and select “Close window.”
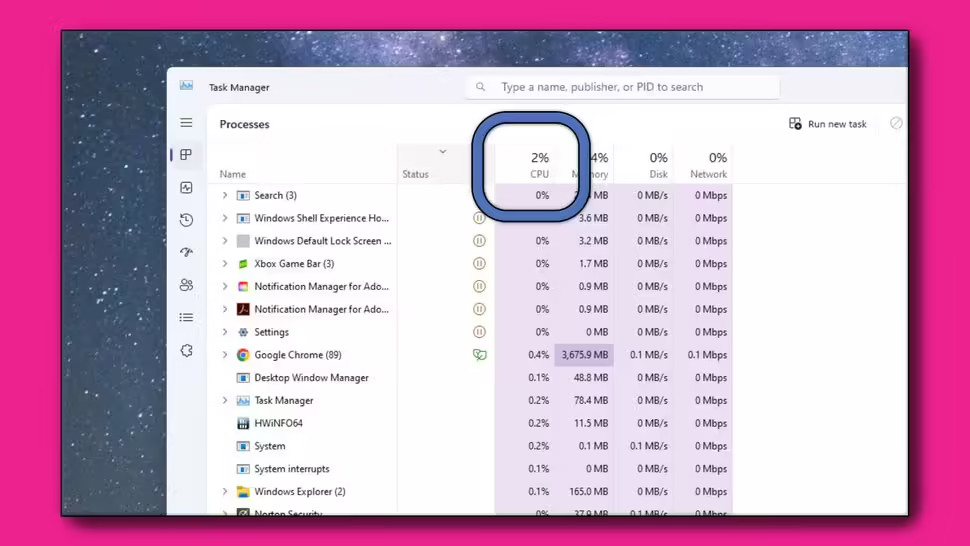
- Open Task Manager by pressing
CTRL+ALT+Delete> “Task Manager.” - End processes that are using significant CPU power.
- Aim for 2-3% CPU utilization before proceeding.
2. Install HWiNFO for System Monitoring
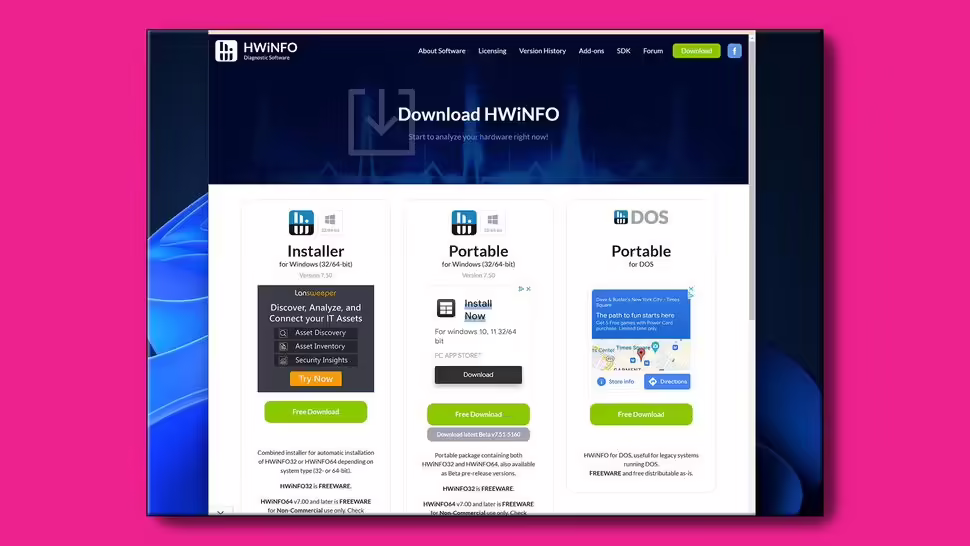
- Download HWiNFO and install it.
- Run the program and ensure your CPU is detected correctly.
- Open the Sensors Status window and locate CPU Package and Core Temperature readings—these will help monitor thermal performance during benchmarks.
Installing Benchmarking Tools
3. Geekbench 6
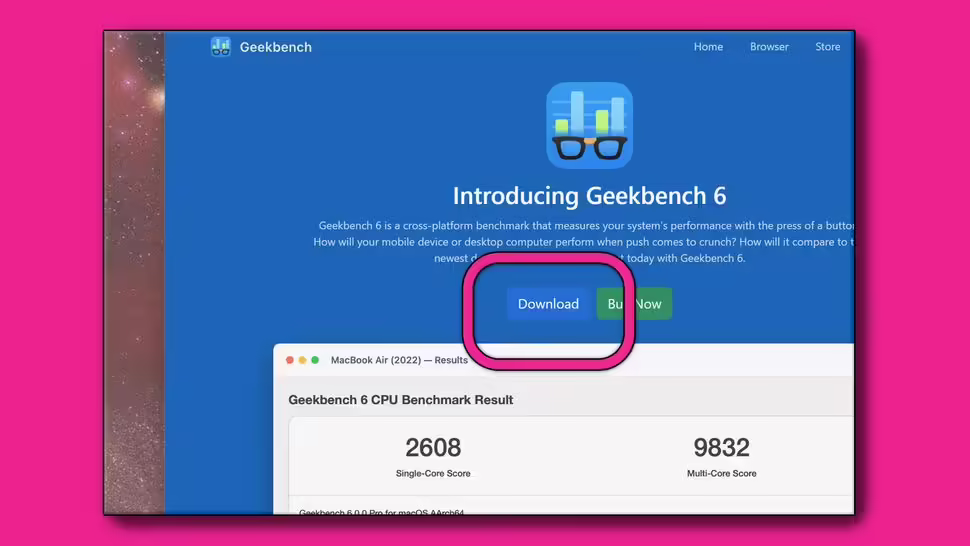
- Download and install Geekbench 6.
- Run an antivirus scan on the installer before installation.
- Launch Geekbench and click “Run CPU Benchmark.”
- Perform three test runs and average the single-core and multi-core scores.
- Compare your results with Geekbench’s online database.
4. PassMark PerformanceTest
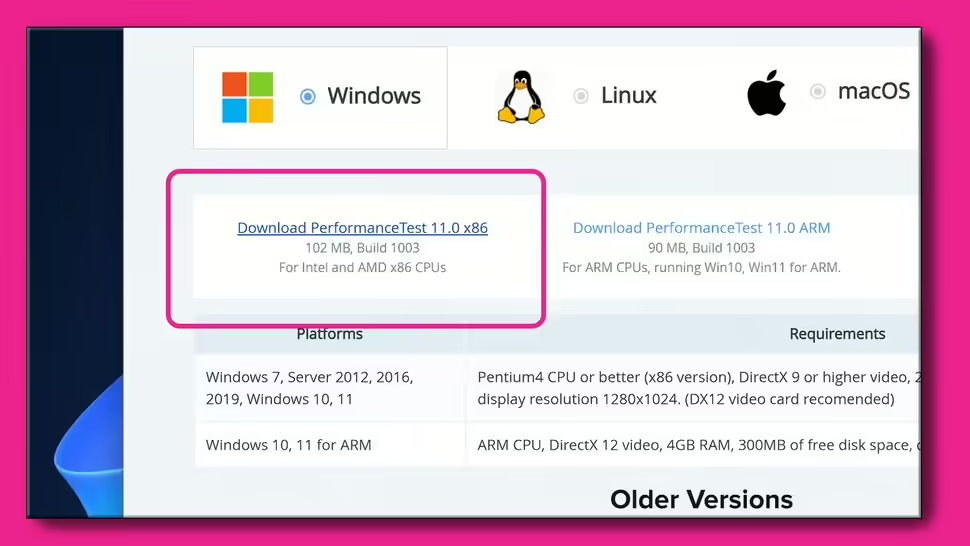
- Download and install PassMark PerformanceTest.
- Run the CPU Mark test.
- Compare the final score with PassMark’s CPU List to gauge expected performance.
5. CineBench R23
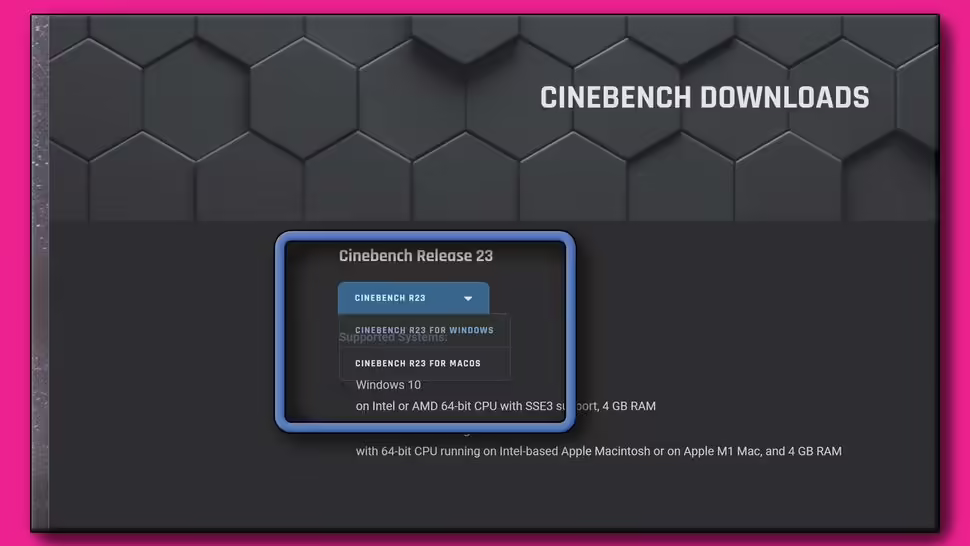
- Download CineBench R23.
- Extract the ZIP file and run
CineBench.exe. - Enable Advanced Benchmarks in the File menu to remove the 10-minute test limit.
- Run the Multi-Core benchmark three times, averaging the results.
- Compare your score with online CineBench R23 rankings.
6. Chaos V-Ray 5 Benchmark
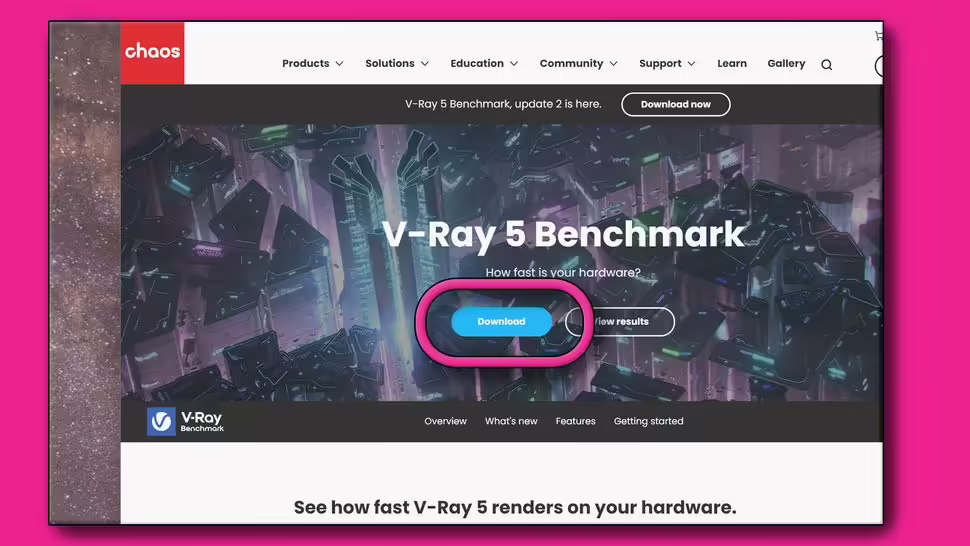
- Download and install V-Ray 5 Benchmark.
- Select the V-Ray CPU benchmark.
- Compare results with the official Chaos V-Ray database.
Analyzing Your CPU Performance
Once you’ve completed the benchmarks, compare your results with the expected online averages. If your scores are significantly lower than expected, you may be experiencing thermal throttling or hardware issues.
Troubleshooting Low Scores
If your benchmark scores are below average, follow these steps:
- Check CPU Cooling – Use HWiNFO to monitor temperature levels during benchmarking. If your CPU hits max temperatures or shows throttling, cooling issues may be the culprit.
- Inspect CPU Cooler Installation – Ensure the cooler is making proper contact with the CPU. If thermal paste application appears uneven, reapply it correctly.
- Upgrade Cooling System – If the issue persists, consider investing in a high-performance CPU cooler for better heat dissipation.
Final Thoughts
CPU benchmarking is a vital process for evaluating your system’s performance and diagnosing potential issues. If your scores align with published averages, your system is in good shape. If not, careful troubleshooting and gradual system optimizations can help unlock the full potential of your processor. By following this guide, you’ll be well on your way to maximizing your CPU’s performance and ensuring a smooth computing experience.


